
Introduction
Door hinges play a vital role in keeping your doors working smoothly, safely, and quietly. When hinges are strong and properly installed, doors open and close easily without sticking, shaking, or making noise. Well-maintained hinges also help maintain the overall balance and appearance of your door.
However, loose, weak, or damaged door hinges can create many daily problems. You may notice uneven gaps around the door, difficulty in closing, scraping sounds, or constant squeaking. If these issues are ignored, they can slowly damage the door frame, wall surface, and even the locking system.
Timely door hinge repair not only improves door performance but also protects your home from long-term damage. Fixing small problems early helps you avoid expensive repairs and replacements in the future. With basic tools and simple DIY techniques, most hinge issues can be fixed easily at home.
Understanding How Door Hinges Work
A standard door hinge is made of three main parts: the hinge leaves, the hinge pin, and the knuckles. One hinge leaf is attached to the door, while the other is fixed securely to the door frame. These leaves are connected by knuckles, which hold the hinge pin in place and allow smooth rotation.
The hinge pin acts as the central support, allowing the door to swing open and closed. Together, these parts carry the full weight of the door and keep it properly aligned within the frame. Strong and well-fitted hinges ensure stable movement and long-lasting performance.
Over time, daily use, heavy doors, and poor installation can weaken hinge screws and surrounding wood. Moisture, humidity, temperature changes, and low-quality hardware can also cause expansion, rust, and loosening. Understanding how hinges work helps you identify problems early and apply the correct repair method.
Common Door Hinge Problems
Many homeowners experience similar door hinge problems, especially in frequently used rooms such as bedrooms, kitchens, and main entrances. One of the most common issues is loose or falling screws, which make the door unstable and shaky.
Sagging doors are another frequent problem. A sagging door may rub against the floor, scrape the frame, or fail to close properly. This usually happens when hinges lose their strength or shift out of position.
Squeaky hinges create unpleasant noise every time the door moves. This often occurs due to dust, rust, or lack of lubrication. Misaligned doors may affect locks and handles, making them difficult to use. In humid or coastal areas, rusted and corroded hinges weaken over time and reduce both strength and appearance.
Tools and Materials You Will Need
Before starting door hinge repair, it is important to gather all necessary tools and materials. Proper preparation saves time and ensures a smooth working process.
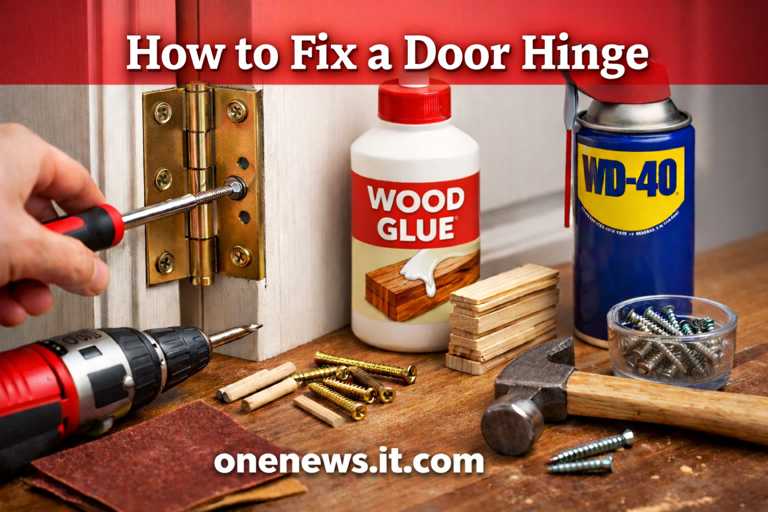
You will need a manual or electric screwdriver for tightening and removing screws. Wood glue helps repair damaged holes. Toothpicks or wooden dowels are useful for filling stripped screw holes. A drill with suitable drill bits allows you to create accurate pilot holes.
Longer screws provide extra support for heavy doors. A hammer may be required for gentle adjustments. Lubricants such as WD-40, silicone spray, or household oil help eliminate squeaking. Sandpaper smooths rough surfaces, while shims are useful for alignment and leveling.
Having these tools ready improves efficiency and ensures professional-quality results.
Safety Tips Before You Start
Safety should always be your first priority when doing home repairs. Before fixing a door hinge, support the door properly using wooden blocks, wedges, or door stoppers. This prevents the door from falling and reduces the risk of injury.
Wear safety gloves to protect your hands from sharp metal edges and splinters. If using power tools, follow manufacturer instructions carefully. Keep your work area clean, dry, and well-lit for better visibility.
Always work on a stable surface and avoid rushing through the process. Taking your time ensures accurate repairs and long-lasting results.
Step-by-Step Guide to Fixing a Loose Door Hinge
Tightening Loose Screws
Begin by checking all hinge screws on both the door and the frame. Use a screwdriver to tighten each screw firmly. Make sure the screws sit flat against the hinge plate.
Avoid over-tightening, as this may strip the threads or crack the wood. Properly tightened screws improve door stability and reduce unwanted movement.
After tightening, open and close the door to test its balance. If the door still feels loose, the screw holes may be damaged and need repair.
Repairing Stripped Screw Holes
Stripped or enlarged screw holes cannot hold screws properly and must be repaired for long-term strength. Start by removing loose wood and cleaning the hole.
Apply wood glue inside the damaged area. Insert toothpicks or wooden dowels tightly into the hole until it is filled. This creates a solid base for new screws.
Allow the glue to dry completely according to the manufacturer’s instructions. After drying, cut off excess material and smooth the surface if needed. Drill a small pilot hole before inserting the screw. This improves grip and prevents future loosening.
Using Longer Screws for Extra Strength
For heavy doors or high-traffic areas, longer screws provide extra durability. Choose screws that are at least 2 to 3 inches long so they can reach the wall stud behind the door frame.
Carefully install the longer screws through the hinge plate and into the stud. This creates a stronger anchor point and increases hinge stability.
This method is especially useful for exterior doors, solid wood doors, and security doors that experience frequent use.
How to Fix a Sagging Door
A sagging door usually indicates weak hinges, loose screws, or frame misalignment. To identify sagging, check if the door rubs against the floor or frame and look for uneven gaps around the edges.
Start by tightening all hinge screws. In many cases, this alone solves the problem. If sagging continues, slightly adjust the hinge position. You may loosen the screws, reposition the hinge, and retighten it carefully.
Thin shims can be placed behind the hinge plate to lift the door and improve alignment. After making adjustments, test the door several times to ensure smooth opening and closing.
Re-aligning the door frame when needed helps restore balance, improves appearance, and prevents long-term structural damage.
How to Stop a Squeaky Door Hinge
Squeaky door hinges are one of the most common and irritating household problems. The noise usually occurs when dust, dirt, rust, or old lubricant builds up inside the hinge mechanism. Over time, this buildup increases friction and prevents smooth movement.
To fix a squeaky hinge, begin by removing the hinge pin using a screwdriver and a small hammer. Gently tap the pin upward and carefully pull it out. Once removed, clean the pin thoroughly using a soft cloth, steel wool, or fine sandpaper to remove rust, grease, and debris.
After cleaning, apply a high-quality lubricant such as WD-40, silicone spray, or light machine oil along the pin and inside the hinge joints. This reduces friction and restores smooth operation. Reinsert the hinge pin and tap it gently into place. Open and close the door several times to spread the lubricant evenly and eliminate noise completely.
Regular lubrication helps keep hinges quiet and extends their lifespan.
Fixing Rusted or Damaged Hinges
Rusted or damaged door hinges weaken door support and reduce overall durability. Rust usually develops due to constant exposure to moisture, humidity, or water, especially in bathrooms, kitchens, basements, and outdoor areas.
To remove rust safely, detach the hinge if possible and scrub it using steel wool, sandpaper, or a wire brush. For stubborn rust, soak the hinge in vinegar or use a commercial rust-removal solution. After cleaning, rinse and dry the hinge completely to prevent further corrosion.
Polishing the hinge improves both appearance and performance. Apply a protective lubricant or rust-prevention spray after cleaning. However, if the hinge is severely rusted, bent, cracked, or unstable, replacement is the best solution.
When choosing new hinges, select high-quality stainless steel, brass, or coated steel hinges for better strength and corrosion resistance. Investing in durable replacement hardware improves door stability and long-term reliability.
Advanced Door Hinge Repairs
Some door hinge problems require advanced repair techniques, especially when structural damage is involved. Cracked door frames, weak wood, and worn mounting areas reduce hinge support and cause repeated loosening.
To repair cracked frames, fill the damaged area with wood filler, epoxy, or repair compound. Allow it to dry completely, then sand the surface smooth before reinstalling the hinge. For soft or weakened wood, reinforcement may be necessary using wooden dowels, blocks, or repair inserts.
Installing metal repair plates is another effective solution for heavily damaged hinge areas. These plates cover weak sections and provide a strong base for screws. They are especially useful for older doors and frequently used entryways.
Preventive Maintenance Tips
Regular maintenance is essential for extending the life of door hinges and avoiding expensive repairs. Inspect your hinges every three to six months for loose screws, rust, and alignment issues. Early detection makes repairs faster and easier.
Clean hinges regularly using a dry cloth or mild cleaner to remove dust, grease, and grime. Avoid harsh chemicals that can damage metal finishes. Apply lubricant once or twice a year to maintain smooth movement.
Prevent moisture damage by improving ventilation in bathrooms and kitchens. Use exhaust fans or open windows to reduce humidity. In damp areas, install moisture-resistant or rust-proof hinges. Choosing high-quality hardware reduces wear and improves long-term performance.
Simple preventive care keeps your doors working smoothly for many years.
Common Mistakes to Avoid
Many homeowners make simple mistakes when repairing door hinges, which can reduce repair effectiveness. One common error is over-tightening screws. This can strip threads, crack wood, and weaken the mounting area.
Ignoring alignment issues is another frequent mistake. A misaligned door puts uneven pressure on hinges and leads to faster wear. Always check door balance after making adjustments.
Using the wrong screw size also reduces holding strength. Short or thin screws loosen easily, while oversized screws may damage the frame. Skipping pilot holes increases the risk of wood splitting and poor screw grip.
Avoiding these mistakes ensures stronger, safer, and longer-lasting repairs.
When to Call a Professional
Although most door hinge repairs can be done at home, some situations require professional assistance. Structural damage, such as broken frames, shifting walls, or rotting wood, needs expert evaluation.
Severe frame problems, warped doors, and damaged support beams cannot be fixed using basic tools. Commercial buildings, fire doors, and heavy security doors also require specialized installation techniques.
If hinge problems continue despite repeated repairs, it is best to contact a qualified carpenter or handyman. Professional help ensures proper alignment, safety, and long-term durability.
Frequently Asked Questions (FAQs)
How often should hinges be checked?
Door hinges should be inspected every three to six months, especially in high-traffic areas such as main entrances and bedrooms.
Can I fix hinges without removing the door?
Yes, many repairs, including tightening screws and lubrication, can be done without removing the door.
Are longer screws always better?
Longer screws provide better support, but they must match the door type, frame material, and wall structure.
What lubricant works best?
Silicone spray, WD-40, and light machine oil are excellent choices for smooth hinge operation and rust prevention.
Conclusion
Fixing door hinges is an essential home maintenance skill that improves comfort, safety, and appearance. By tightening loose screws, repairing stripped holes, lubricating hinges, removing rust, and correcting alignment, most hinge problems can be solved easily.
Regular inspections and preventive maintenance help extend hinge life and prevent major structural damage. Using quality tools, durable hardware, and proper techniques ensures strong and long-lasting repairs.
With patience, basic knowledge, and simple DIY skills, homeowners can confidently maintain their door hinges and enjoy smooth, quiet, and reliable doors for many years to come.
